This is a copy from https://people.unica.it/massimilianogrosso/auto-on-windows/
这篇教程讲解如何在windows上安装Auto2007,原文链接如上
AUTO is a software developed by several authors (Eusebius Doedel, Alan Champneys, Yuri Kuznetsov and many others) devoted to the parameter continuation and bifurcation detection for Ordinary Differential Equation systems. It is a powerful tool to investigate dynamical models.
It is available freeware and its installation is straightforward on Unix and Linux platforms.
On the other hand, some problems of compatibility can be encountered under Windows OS.
In this page I sugget a possible installation of AUTO on Windows. Many boring steps are required for the installation, a lot of stuff has to be downloaded (and installed) but it seems that at the end it works.
I performed the installation on both 32 and 64 bit processors, but I used only 32 bits programs. However, it seem that things work properly in any case.
Well, if you have some success with a 64 bit setup please let me know … my feeling is that some software (MinGW) is not yet ready for the 64 bits processors.
IMPORTANT: if you log in on your PC with a user name that includes some spaces (for example “John Doe” or “Gennaro Esposito”), you will have serious problems with the installation: you are going ot mimic a Linux-like environment on your PC and Linux hates paths including spaces. I suspect they will be hard to handle.
I strongly suggest to log in the pc with a single-word user name (for example: “John”, “JohnDoe”, “John_Doe” , “DoeJohn” atc.).
Step 1: Download and install Python with some extensions
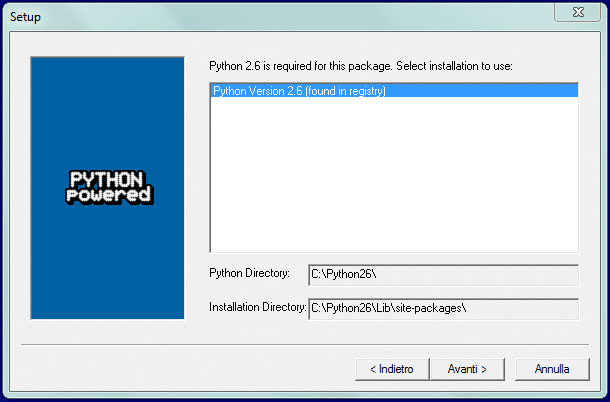
Step 1.a: Get Python 2.6 release from the web page.
the 2.6 release is not the newest one, but the authors of AUTO strongly recommend it for our purpose.
You can download here the 32 bit version .
The 64 bit version is also available. but it seems unstable for the installation of AUTO2007. Well, you can however try and take a look.
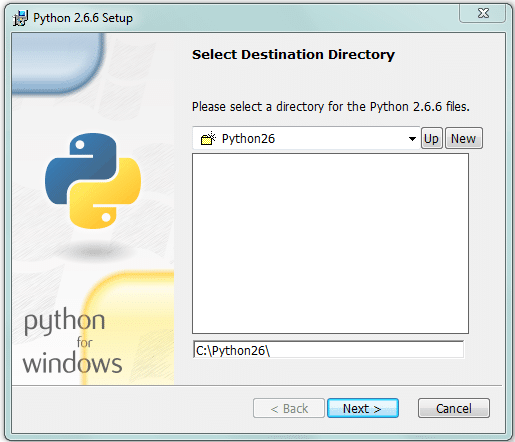
I suggest to follow verbatim the default setup:
The setup program will create a new directory on your hard disk
C:\Python26
It is warmly recommended to do not change the path suggested.
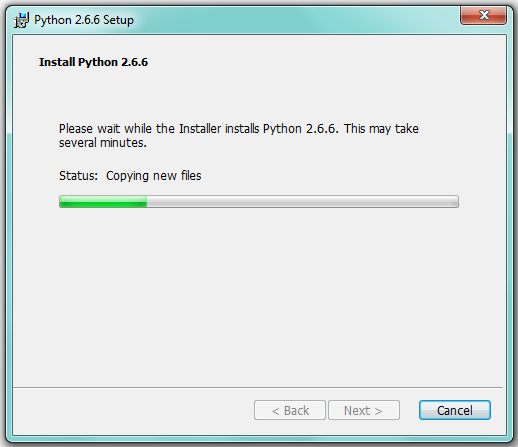
It will take some time …
then the installation of Python is complete.
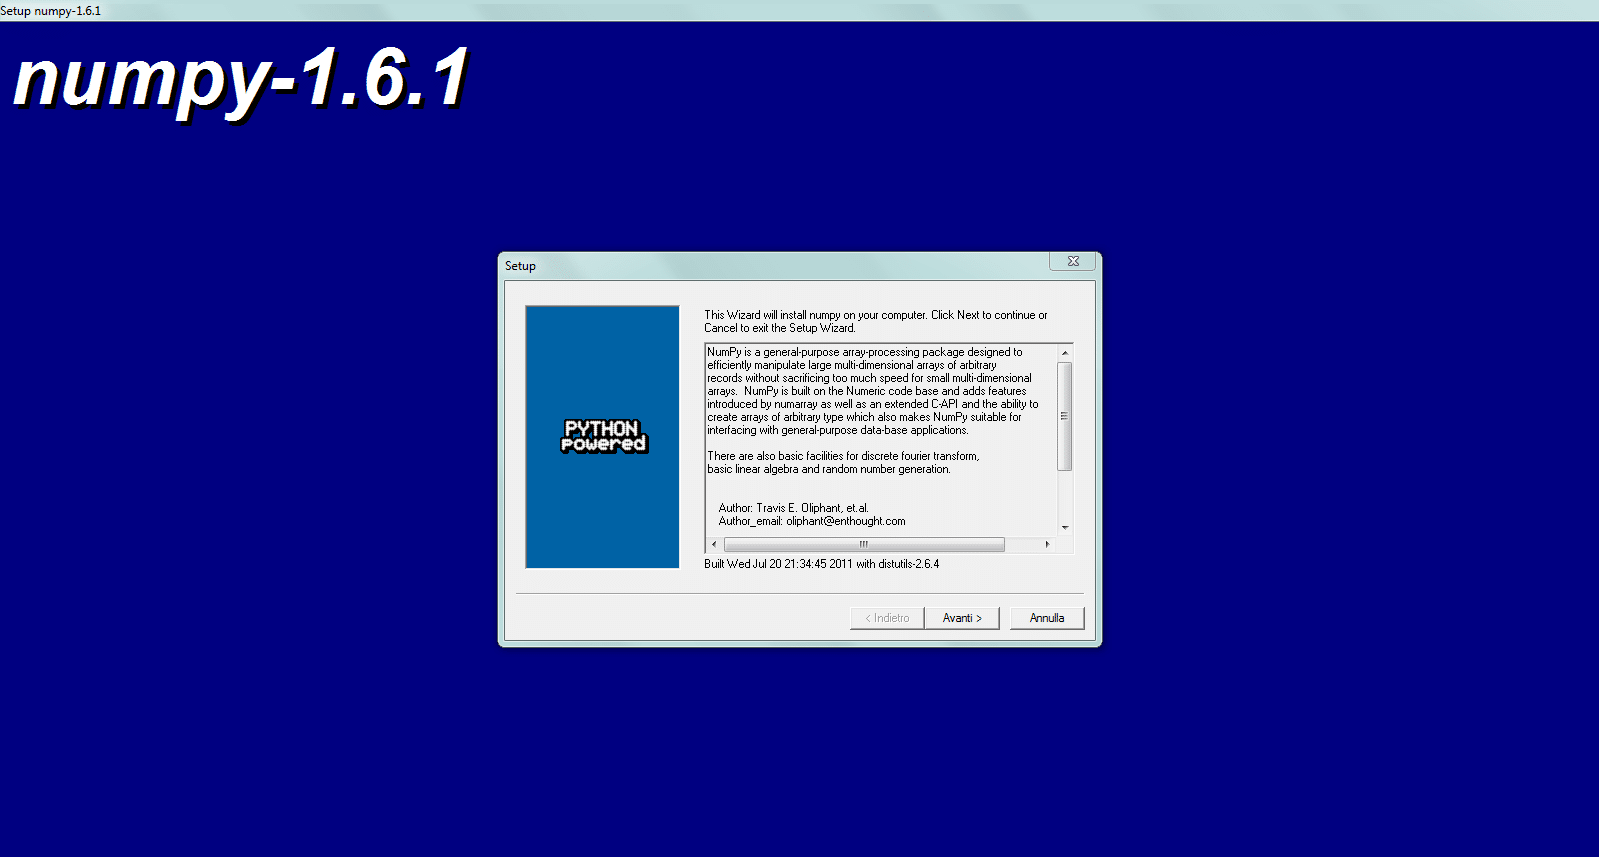
Step 1.b: Get NumPy:
NumPy is an extension to the Python programming language allowing high-level numerical computations.
You can download a suitable version here.
A window will appear:
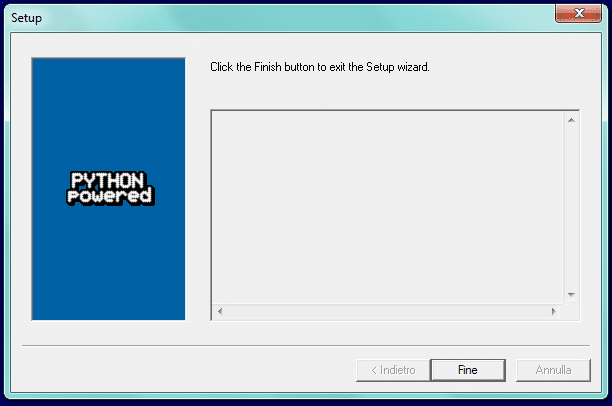
Install the executable following the default instructions.
Check that the directory of the installation is the same of the Python software previously installed:
The installation will take a few time and it should be quite undemanding:
Now you should have Python with the numerical libraries installed on your machine.
Step 1.c: Get MatPlotLib.
Matplotlib is a plotting library for the Python programming language.
Tou can download the 32-bit version here (as an alternative the 64 bit release is here).
Check alway that the Python directory is correctly set:
After this step the Python installation is definitely accomplished.
Step 2: Download and Install MinGW
The developers of f AUTO claim that the minimal installation is sufficient to run AUTO.
I preferred to install a complete version including also the Fortran compilers that you can download
(this is an old executable file, no longer available on the MinGW site, I deem that it allows the correct compilation of AUTO2007).
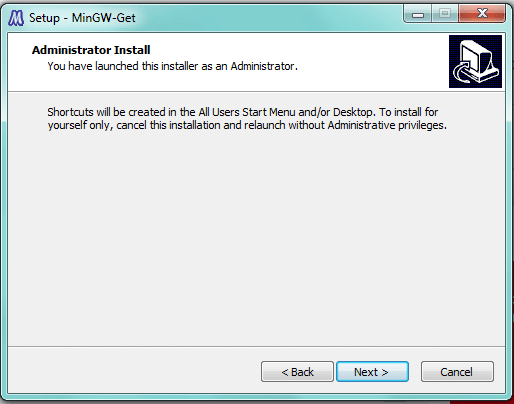
IMPORTANT!: You should execute the file with the Administrator permissions for having a successful installation
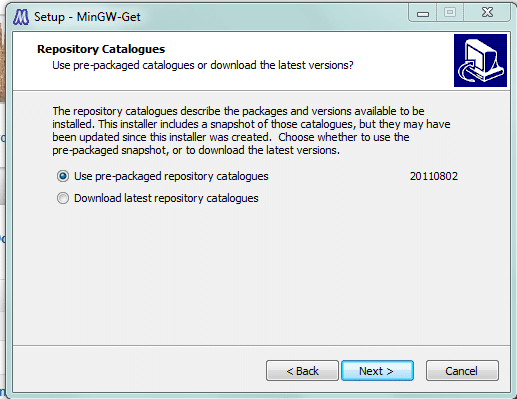
Use the default options for the selection of the repository catologues:
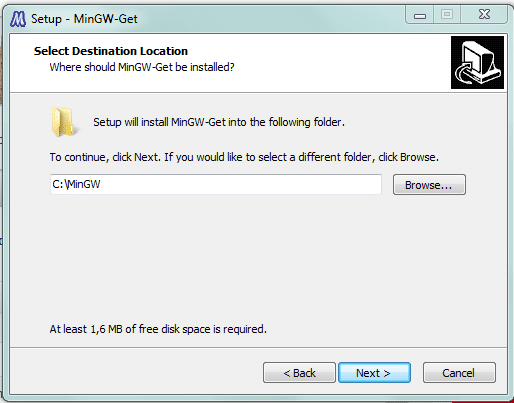
Then, after having accepted the license agreement, you should select the destination location. Accept the default directory:
MinGW will be thus installed in the directory:
C:\MinGW
Important Step: select all the optional components to install, together with MSYS Basic System, and the Developer toolkit
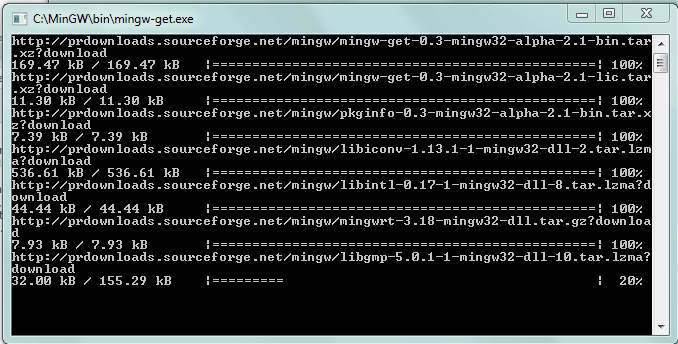
After this step is performed, a DOS shell will appear and setup program will download and instal files from the web repository. It will take some time. Don’t worry to much and wait …
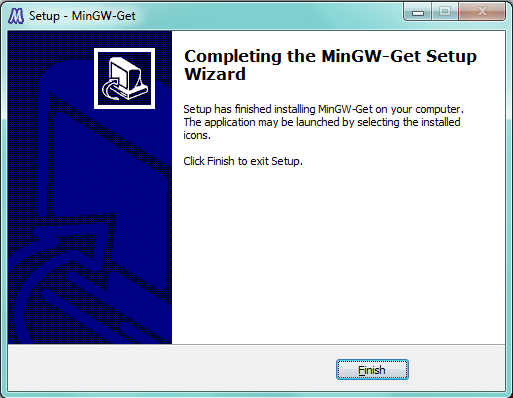
After some time, depending on your connection velocity and PC power, the setup will be terminated.
Step 2.b: Play with MinGW
and check if everything is ok
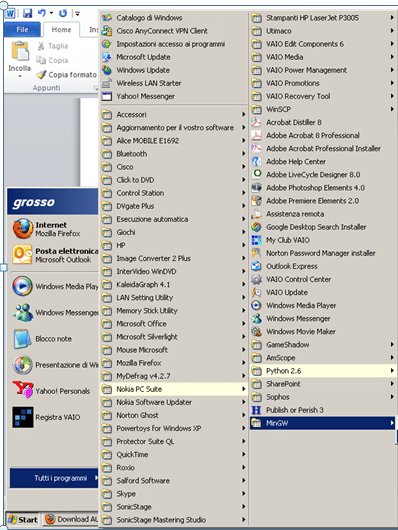
First, start a MinGW session You can do this by running the program from the traditional windows menu:
or, alternatively, you can double-click the batch ms-dos icon “msys.bat” in the directory:
C:\MinGW\msys\1.0
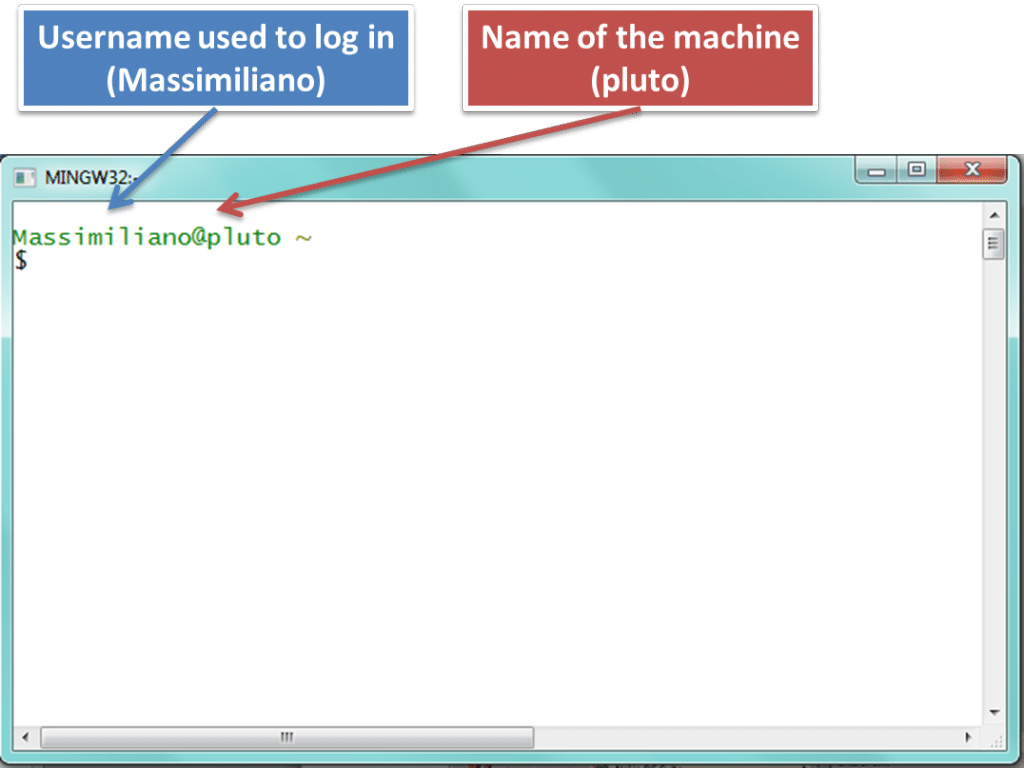
In any case, a dos-shell will appear, that mimics a Linux environment:
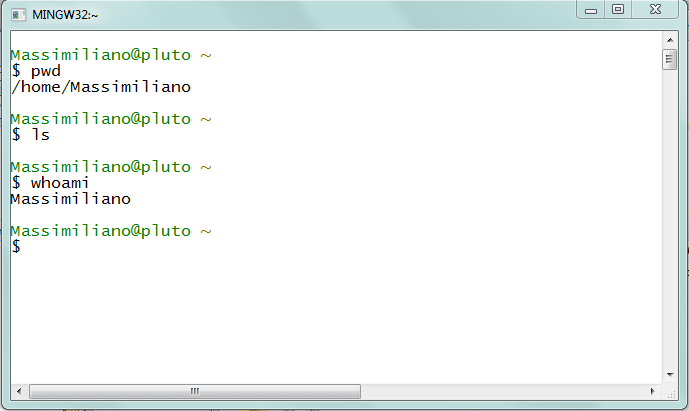
in the Min-GW shell you can type the typical Linux commands:
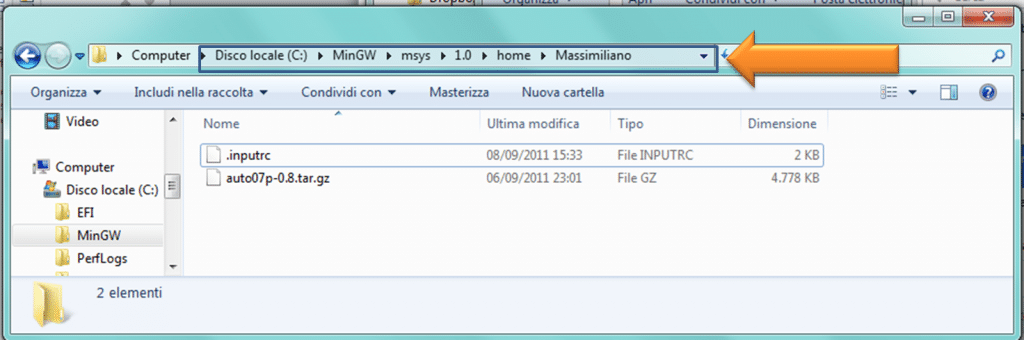
so, you will be logged in the directory /home/USER_NAME (the user name I used in this tutorial is in fact Massimiliano, as confirmed by the command “whoami”). At the moment, in the directory there are no files.
This environment corresponds to the windows directory:
C:\MinGW\msys\1.0\home\USER_NAME
Step 4: Download AUTO2007
and install (Part 1)
Now we are almost ready to get AUTO from the web source and try to run it on our PC.
First, download link.
Remark: this is not the latest version of AUTO but I encountered some compatibility problems with the graphical Python libraries and the new Auto2007 releases … I will spend some time about this problem in the future, but don’t worry the differences: between the two releases are minimal
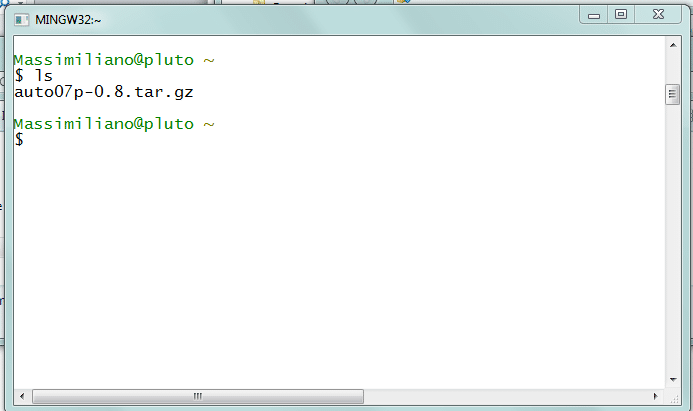
After the download is complete, you have to move the file in your MinGW directory, that is C:\MinGW\msys\1.0\home\USER_NAME.
After this operation, the folder should appear in the following way and you can see that a new file (auto07p-0.8.tar.gz) is in the folder:
You can check the success of the operation by typing on the Min-GW shell the command ls:
now, you can first unzip the software package, typing on the MinGW-Shell
gunzip auto07p-0.8.tar.gz
and then
tar xvfo auto07p-0.8.tar
This will result in a directory auto with one subdirectory auto/07p. Move to such subdirectory with the command lines:
cd auto/07p
Then type
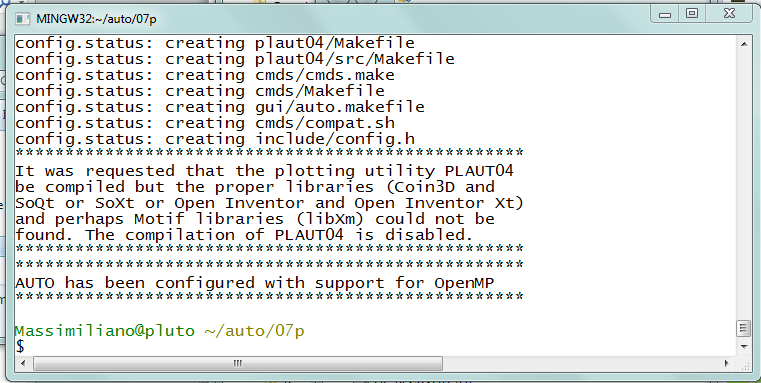
./configure
this script is designed to detect the details of your system which AUTO requires to compile succesfully and generate a Makefile suited for your machine. Something like that should appear in your MinGw-Shell. Don’t worry to much for the warning messages at the end: the only issue is that you cannot use some (useless, imho) graphical libraries that are available on the Linux platform
Everything is ready for the compilation of AUTO. Type:
make
After compilation, you may type
make clean
to remove unnecessary files
Final activities (install part 2)
To run AUTO you should set your environment variables correctly. To do that there are a few little details to be carefully tuned before executing definitely your program.
a. Creating the .bashrc file
Come back to your home directory, typing:
cd ../..
or alternatively type
cd $HOME
in the home directory create a HIDDEN file named .bashrc by typing the command touch
touch .bashrc
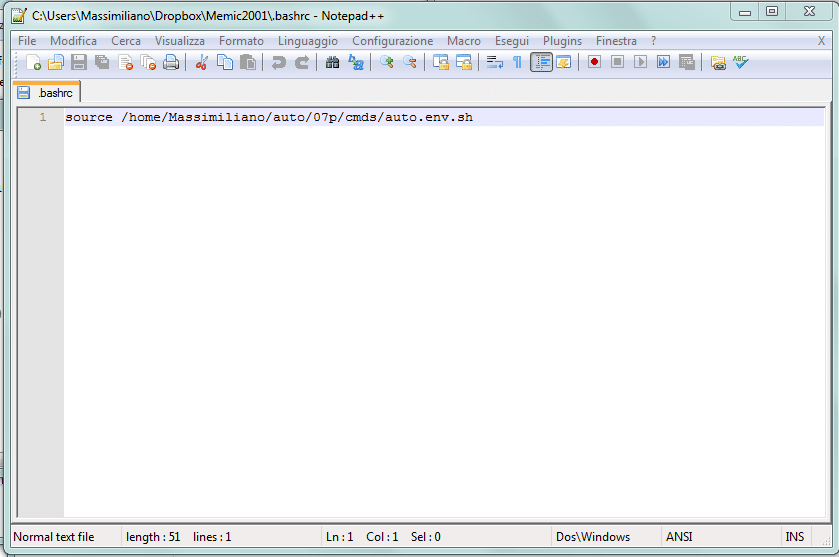
with the instructions above, you have created an empty file where you will write (using a whatever text editor, I suggest Notepad) the string:
source /home/USER_NAME/auto/07p/cmds/auto.env.sh
in the undestarting that, instead of USER_NAME, you will write your specific user name (hoping that there are no spaces, in such a case, you are in trouble). This is an example about how the file will appear after the maintenance.
b. Allowing the .bashrc file to be correctly invoked
Under the Windows environment, edit the file named profile which is in the folder:
C:\MinGW\msys\1.0\etc
adding the following string at the end of the file
. ~/.bashrc
(you can also simply copy and paste the string above).
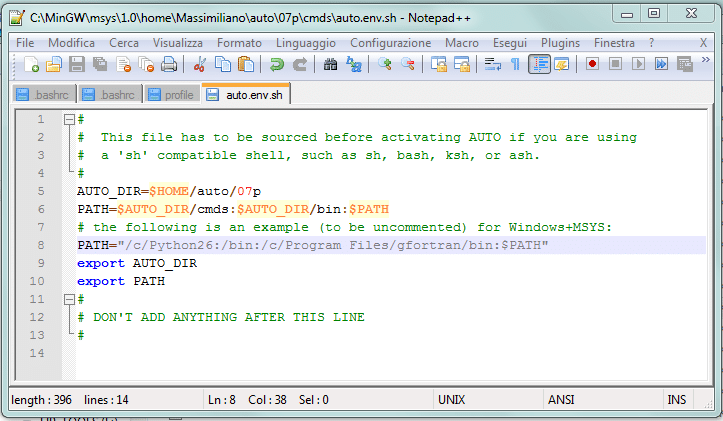
c. Editing the AUTO source file
Under Windows, in the directory:
C:\MinGW\msys\1.0\home\USER_NAME\auto7p\cmds
edit the file auto.env.sh. You should simply uncomment line 8 (i.e. remove the character ‘#’ at the beginning of the row). That should suffice.
Now IT’S FINISHED!! You should exit from the MinGW-Shell in order to reboot the environment variables. You can do that by typing:
exit
Step 5: Check
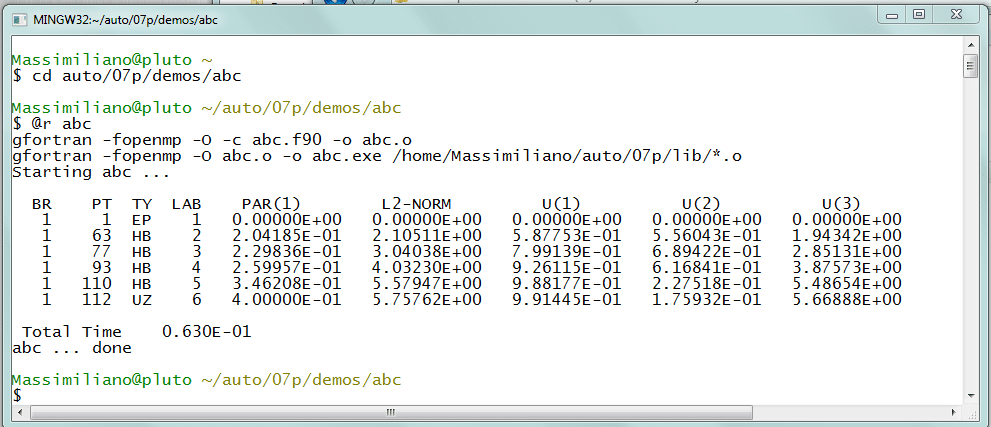
Open a MinGW-Shell and try to run an AUTO demo. For example you can try with the model abc, which describes a reaction network A → B → C. Assuming that you are in your home directory, type:
cd auto/07p/demos/abc
and then type
@r abc
If it appears something as in figure below, you are a lucky guy, and you can enjoy with AUTO for the rest of your life
You can also check if the graphical interface works by typing:
@pp
a new window with a solution diagram plot should appear.
For any problem, do not hesitate to contact me.
Some stuff useful to learn AUTO2007


Thank you very much. It works very well.
@anonymous I'm glad your installation is working fine according to this tutorial. It's a very good tutorial from the internet, written by a researcher. I just save a copy. All in all, glad you benefited.